The equipment and gear systems in Clair Obscur: Expedition 33 offer substantial depth for players who want to optimize their party's performance across the game's most challenging encounters. Unlike RPGs where equipment choices are straightforward numerical upgrades from one tier to the next, Expedition 33's gear system rewards thoughtful selection based on character roles, enemy types, combat phases, and the unique modification layer provided by the Tint system. Understanding how weapons, armor, accessories, and Tints interact with each other and with the game's combat mechanics is essential for players who want to tackle the hardest content on offer, including New Game Plus boss fights and the Verso's Drafts dungeon added in the free Thank You Update. This guide covers every aspect of the equipment system, from the fundamentals of how each gear category works to advanced strategies for min-maxing your party's loadout for specific challenges.
Weapon Types and Character Specialization
Each party member in Expedition 33 has access to a specific category of weapons that reflects their combat style and role within the party. Gustave wields painter-themed implements that blend artistic expression with martial capability, including brushes that double as bladed weapons and palette-based shields that provide defensive utility alongside offensive capabilities. His weapons tend to offer balanced stat distributions with moderate damage and good defensive properties, making him a versatile character who can adapt to multiple combat roles. Maelle specializes in direct, high-impact weapons designed for maximum single-target damage, reflecting her straightforward and determined personality. Her weapon upgrades prioritize raw damage output and critical hit chance, making her the party's primary damage dealer against bosses and high-health enemies. Verso's weapons are connected to his mysterious nature and offer unique properties that no other character can replicate, including abilities that interact with the Break system in unusual ways and provide utility beyond simple damage numbers. Lune's armaments focus on support and range, providing abilities that can control battlefield positioning, apply status effects, and assist allies from a distance. Scally uses unconventional equipment that reflects his unique role as a companion with mechanics that differ from the main party, including items that draw enemy attention and absorb damage. Understanding each character's weapon category is the foundation for building effective gear loadouts.
Best Weapons and When to Use Them
While the best weapon for any given situation depends on the specific encounter and your party composition, several weapons stand out as particularly effective choices throughout the game. For Gustave, the mid-to-late game weapons that boost Break gauge damage are generally the strongest options, because his role in boss fights is often to build Break efficiently so that Maelle and Verso can exploit the vulnerability window. For Maelle, weapons with high critical hit rates and damage multipliers during Break states are optimal, since she benefits most from the increased damage window that a successful Break creates. Verso's best weapons are those that complement his unique mechanics, particularly those that enhance his Break manipulation abilities or provide buffs that benefit the entire party. Lune's most effective weapons are those that maximize the utility of her support abilities, extending buff durations, increasing healing effectiveness, or improving the area of effect for her support skills. Throughout the game, you will encounter weapons that seem statistically inferior but carry unique properties that make them situationally invaluable, such as weapons that deal bonus damage to specific enemy types or weapons that generate additional resources on successful parries. Do not dismiss these niche weapons outright, as they can be the key to overcoming specific challenges that brute-force damage cannot solve.
The Tint System Explained
The Tint system is one of the most distinctive equipment mechanics in Expedition 33, offering a layer of customization that goes beyond simple stat upgrades. Tints are special modifications that can be applied to weapons and equipment, adding bonus effects, percentage-based stat increases, or unique properties that change how the item functions in combat. The name derives from the game's painterly theme: applying a Tint is metaphorically equivalent to applying a wash of color to a painting, altering the underlying composition in subtle but meaningful ways. Tints are acquired through exploration, enemy drops, quest rewards, and special encounters, and each Tint can only be applied to specific categories of equipment. Some Tints provide straightforward percentage bonuses to damage, defense, or healing effectiveness. Others offer more complex effects, such as increasing the duration of Break states, providing healing on successful parries, boosting critical hit damage against broken enemies, or adding elemental properties to physical attacks. The key advantage of percentage-based Tints is that their value scales with your base stats, meaning they become increasingly powerful as your characters level up and acquire better equipment. This scaling behavior makes Tints especially valuable in NG+, where the higher enemy stats amplify the impact of percentage-based bonuses.
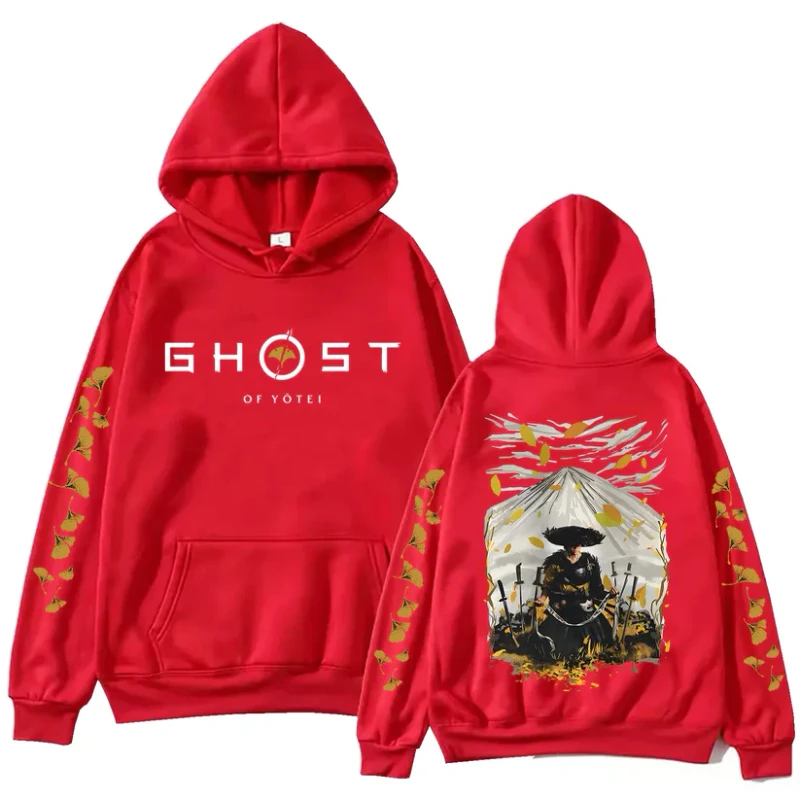
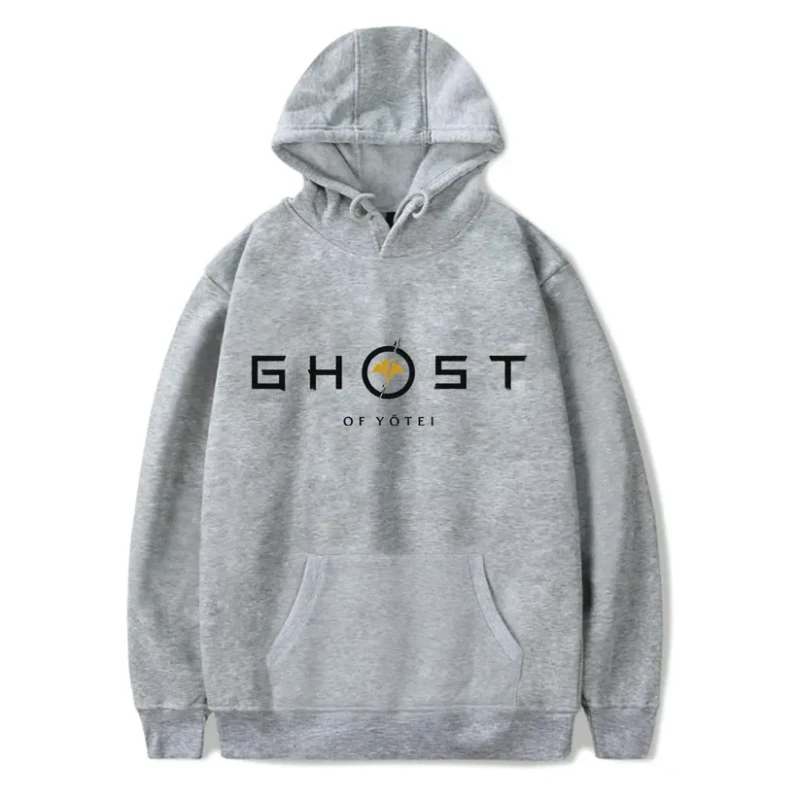
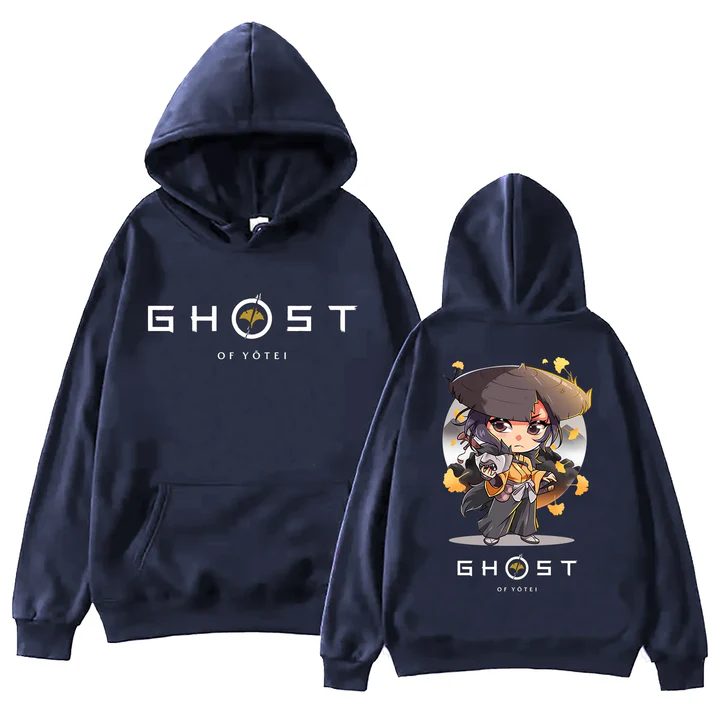
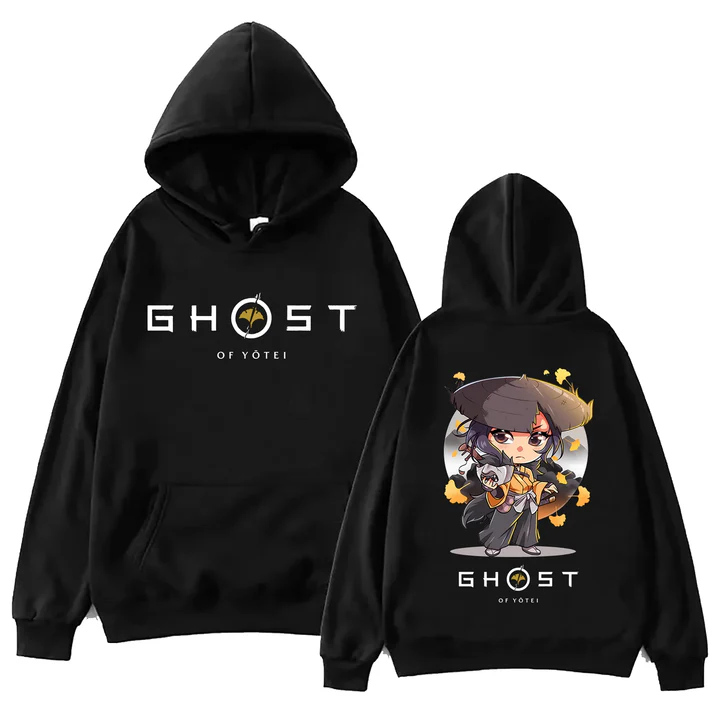
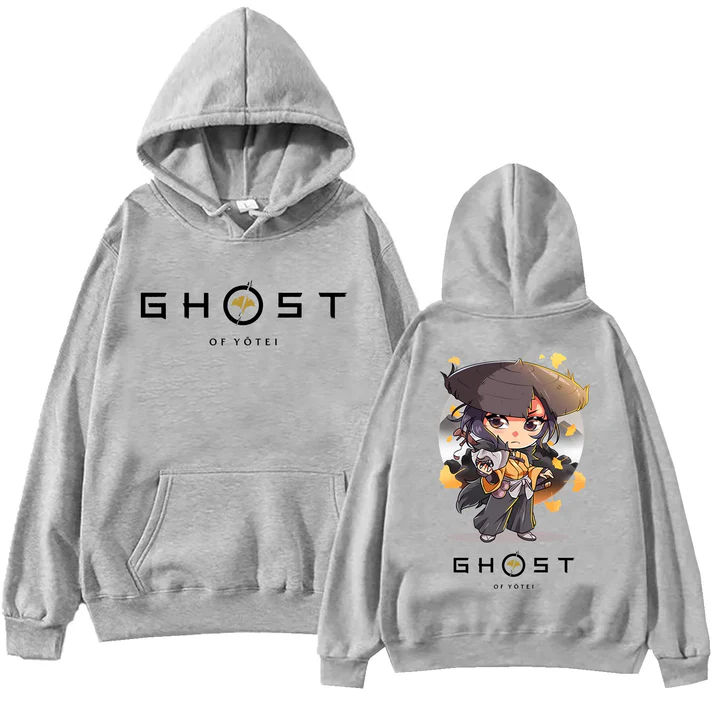
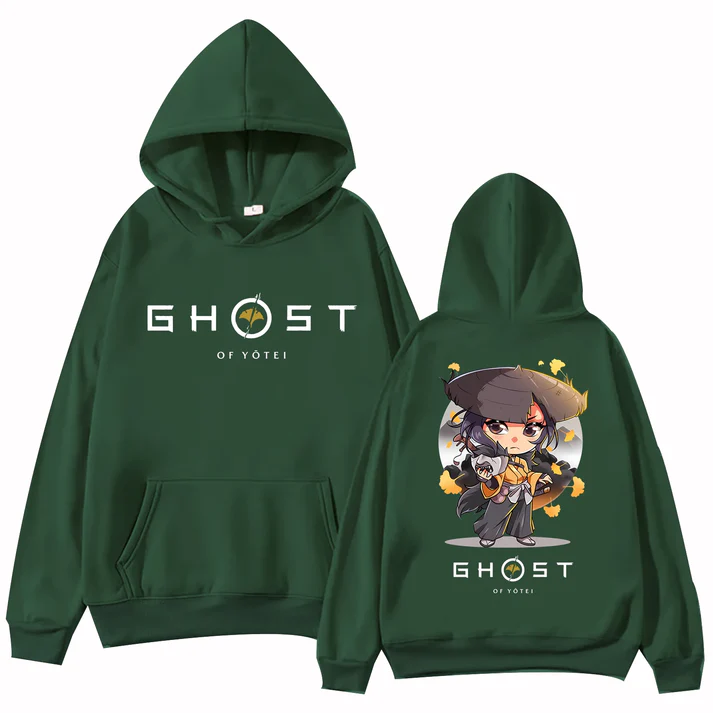
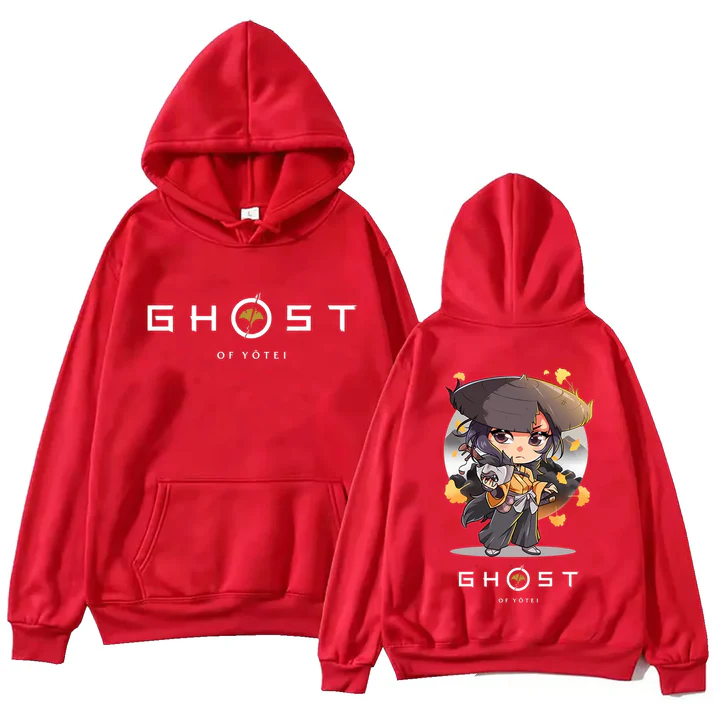
Tints are essentially colorways for your gear, and when we read that part of the design we thought: exactly. A whole palette of the same hoodie exists for a reason — the right color changes how a piece feels. The Ghost Of Yotei Kawaii Red Hoodie in crimson red is the boldest tint in our collection.
Best Tints for Boss Fights and Exploration
Optimal Tint selection varies significantly depending on whether you are preparing for a boss fight or exploring the game's world, and maintaining multiple loadouts with different Tint configurations is a practical strategy for experienced players. For boss fights, the most valuable Tints are those that increase your damage during Break states, extend the duration of Break windows, or provide survivability benefits that help you endure prolonged encounters. Break duration Tints are particularly effective because a longer Break window means more turns for your party to deal damage and more time to execute powerful abilities without the boss being able to retaliate. Counterattack damage Tints synergize extremely well with the chain parry system, rewarding players who can maintain high combo multipliers with significantly increased burst damage. For exploration, survivability and efficiency Tints are more valuable: Tints that provide passive healing, increase movement speed, or reduce resource consumption for traversal abilities can make the process of moving through areas and clearing minor encounters faster and less resource-intensive. Tints that boost experience gain or resource drop rates from exploration enemies are also worth considering for players who want to maximize their leveling efficiency during a first playthrough.
Armor, Accessories, and Hidden Equipment
Beyond weapons and Tints, the armor and accessory systems in Expedition 33 provide additional avenues for customization and optimization. Armor primarily determines a character's physical and magical defense ratings, with heavier armor providing more protection at the cost of potential penalties to evasion or action speed. Each character has access to a distinct line of armor upgrades that progress through the game's main story, with additional options available through side quests and hidden locations. Accessories offer smaller but more specialized bonuses, such as resistance to specific status effects, increased resource generation from particular actions, or unique conditional effects that trigger under specific circumstances during combat. The most powerful accessories are typically found in hidden locations that require thorough exploration, including areas that are only accessible after solving environmental puzzles or defeating optional enemies. Some of the best equipment in the game is missable if you do not explore thoroughly during your first playthrough, as certain areas become unavailable after story progression. The Verso's Drafts dungeon added in the Thank You Update includes several new equipment pieces and accessories that are among the strongest options available, particularly for NG+ playthroughs where the increased enemy stats make every percentage point of optimization matter.
Resource Management and Upgrade Paths
Effective resource management is the invisible backbone of successful equipment optimization in Expedition 33. The game uses a finite resource system for equipment upgrades, meaning the materials you use to improve your weapons and armor are limited and must be allocated carefully. Early in the game, it can be tempting to invest upgrade materials into every piece of equipment you acquire, but this approach will leave you without sufficient resources to upgrade the superior gear you find later. A more effective strategy is to invest heavily in a core set of equipment for each character that you intend to use for an extended period, and only upgrade replacement gear when you are confident it will be your primary loadout for the foreseeable future. The upgrade system itself follows a branching path structure for most equipment, where early upgrade choices determine which high-tier bonuses become available at maximum upgrade level. This means that upgrading without planning ahead can permanently lock you out of the most powerful versions of certain equipment. Before investing significant resources into any upgrade path, check the full upgrade tree to ensure it leads to bonuses that align with your intended build. In NG+, resource management becomes less constraining because you have already acquired most of the game's upgrade materials, allowing for more experimentation with different build configurations.
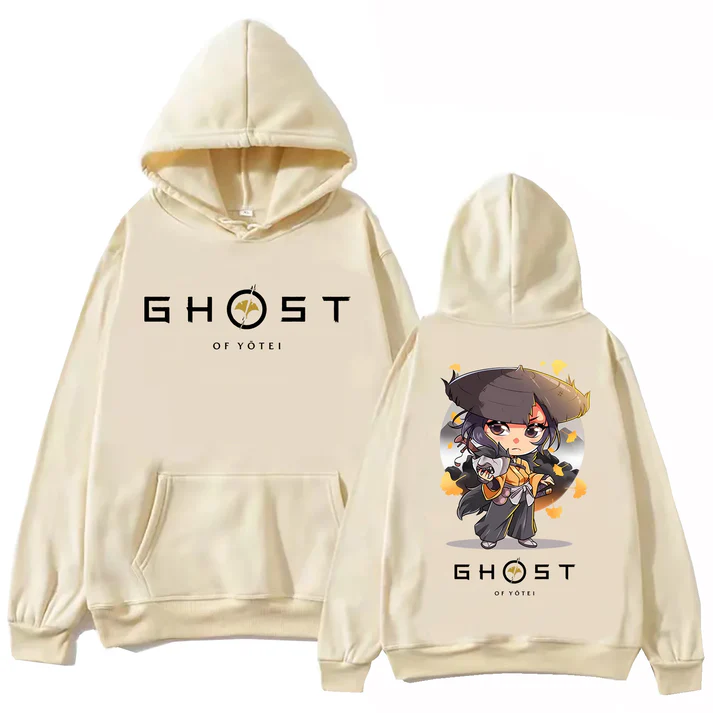
A good loadout is curated, not crammed, and the same goes for a wardrobe. The Ghost Of Yotei Kawaii Beige Hoodie in sand beige is the neutral anchor we would build around: soft brushed interior, relaxed Japanese streetwear fit, and subtle enough for everyday wear. One good hoodie outperforms five mediocre ones every time.